I have been asked for instructions for this card, it's my first attempt, so please bear with me. The papers I have used are from a new mens Cd from Amethyst Papercraft designs.
Cd is called Man of the Moment. it's available now on their website.

Take 5 pieces of A4 card, fold two pieces in half making A5 cards.

Next score two pieces into three on A5 fold then again at each side on A4 gate fold. Make an aperture with your required shape. I often use the Keepsake boards for this but anything will do.
(I love using my large nesties to do this but I do the aperture before I score the middle then I can use the cut out. Score both the side lines then you can place the nesties better. I use repositional tape to hold them in place.) Put a piece of ribbon on the left hand side only.

Next place an A5 piece of paper in the middle.

Attach the aperture part to the inside of the A5 card.
Repeat this placing the ribbon on the right hand side of the card.
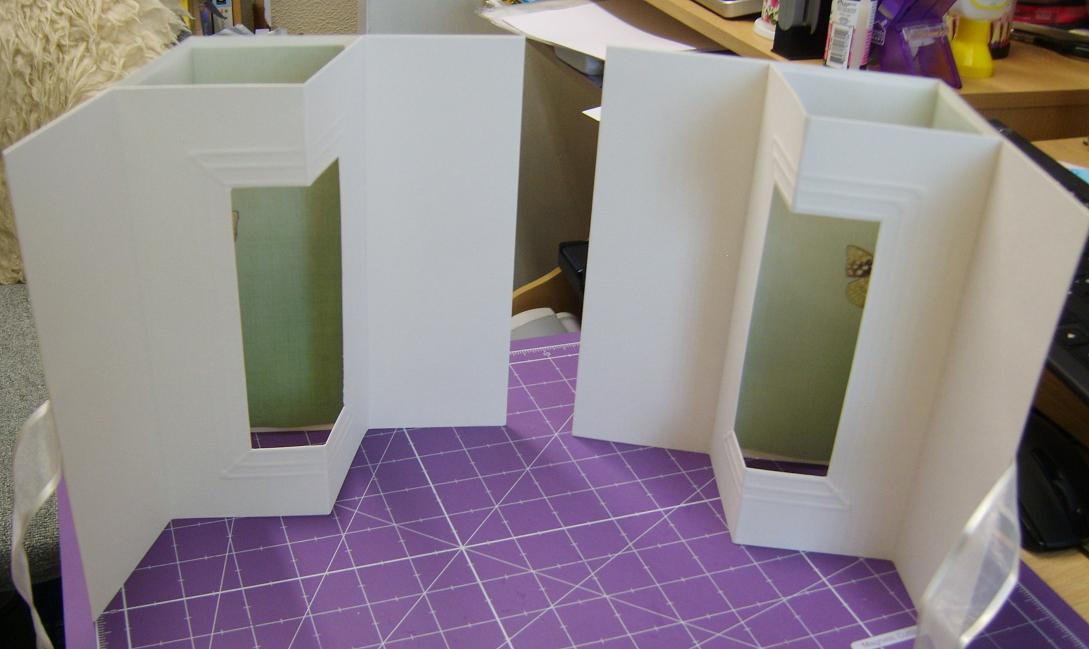
This makes two separate cards as above.


Thanks Jan, your tutorial was most helpful and clearly understood. I love the card ,but that Tankard is wonderful. Hugs Rita xxx
ReplyDeleteI like even the fist part Jan. Thank you, will have a go.
ReplyDeleteEleanor
Thanks Jan thats very helpful xx
ReplyDeleteFantastic, thanks for sharing x
ReplyDeleteThank you for the tutorial i will have a go at this soon
ReplyDeleteFabulous tutorial, Jan, will be having a go at this, as soon as I have gotten some time to myself, I love your cards, and this is awesome, such clear instructions hun, thank you xxx
ReplyDeleteThanks Jan...Will try this 1 in the NY...xoxo
ReplyDeleteWow Jan no wonder you won. This is stunning!
ReplyDelete- wishing you a happier new year and hoping your Dad gets stronger and well ... Vee (docrafts)luv2quill
Thank you for the tutorial - its great having pictures as well as step by step instructions. I am always looking for something different to do in my classes - and now I have one super duper new project - thank you
ReplyDeleteHugs
Angie
x
A wonderful tutorial Jan beautifully explained and the pictures are fab. Thanks for sharing this with everyone. Hugs Jennifer xx
ReplyDeleteGreat tutorial pictures really helped xx
ReplyDeletefabulous tutorial Jan, thank you.
ReplyDeleteJanet xxx
Great tut Jan, thank you :)
ReplyDeleteThis is great, thanks!
ReplyDelete
ReplyDeleteWaouh super